
Your Client's Status Page on Their Own Domain: CNAME Setup and Automatic TLS in Practice
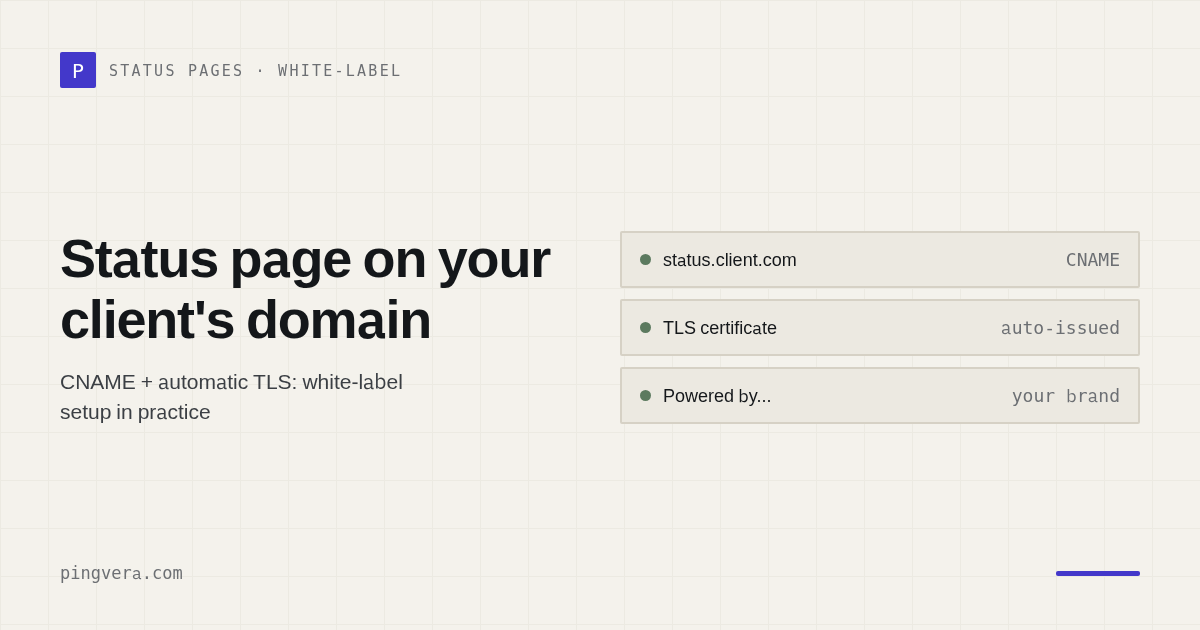
A status page that lives at status.yourmonitoringvendor.com is a status page for your monitoring vendor. A status page at status.client.com is a deliverable — something the client sees, references, and associates with your work. The difference is a single DNS record and a few minutes of configuration. This checklist walks through the full setup: pointing a client subdomain to Pingvera, letting Pingvera handle TLS automatically, deciding whether the page is public or private, and adding the finishing touches that make it a proper retainer artifact.
Before you start: what you'll need
- Access to the client's DNS (through their registrar, Cloudflare, or wherever their zone is managed).
- A Pingvera account. Status pages are available on every plan; the custom domain (white-label) capability described here is part of the Pro plan.
- A subdomain name agreed with the client.
status.client.comis the convention most clients recognize immediately;uptime.client.comorhealth.client.comalso work.
One note before touching DNS: Pingvera issues and renews the TLS certificate for the custom domain automatically, but it needs to verify domain ownership first — so the certificate can only be issued after the DNS change is live. The steps below are in the right order: you enter the domain in Pingvera first (to get the CNAME target), then create the record, then the certificate follows.
Step 1: Create the status page in Pingvera
In your dashboard, go to Status Pages and create a new page. Add the monitors you want to display — the client's main site, their contact form check, SSL expiry, domain expiry, or any combination that matches the retainer scope. Give the page a name the client will recognize: it appears in the browser tab and in subscriber notifications.
Step 2: Set the custom domain
In the status page settings, find the Custom Domain field and enter the subdomain you've agreed on — for example, status.client.com. Pingvera will show you a CNAME target: a hostname you'll point the subdomain to. Copy it exactly.
Step 3: Add the CNAME record in the client's DNS
- Type: CNAME
- Name / Host:
status(or whatever subdomain prefix you chose) - Value / Points to: the Pingvera hostname from Step 2
- TTL: 300 seconds is fine for initial setup; you can raise it later
DNS propagation is usually fast at a low TTL, but give it a few minutes before moving on.
Step 4: Let Pingvera issue the TLS certificate
Once the CNAME record resolves, Pingvera detects it and issues a TLS certificate for status.client.com automatically. You don't generate a certificate, upload anything, or configure a renewal schedule — when the certificate approaches expiry, Pingvera renews it.
One thing to check: if the client's DNS is behind Cloudflare with the proxy (orange cloud) enabled, switch this record to DNS-only (grey cloud). A proxied CNAME can interfere with certificate issuance.
White-label monitoring for client sites
Uptime, SSL and domain expiry, contact-form-to-inbox delivery, WordPress health — with status pages and reports under your brand. Free plan: five sites, one-minute checks, no credit card.
Start freeStep 5: Decide on access — public or password-protected
Public page: anyone with the URL can see it. This is the right choice for most clients — it signals transparency and lets their own customers check status without calling support.
Password-protected page: use it when the client prefers not to expose uptime data publicly (common for SaaS products and internal tools), or when you want a private page for the client's internal team. For protected pages the RSS feed, badge and widget are disabled, so the private status doesn't leak through side channels. Both options live under the same custom domain, and you can switch at any time.
Step 6: Use maintenance windows
Schedule a maintenance window for the monitors attached to this page — a banner appears on the status page automatically, showing the window's start and end time. During the window, down alerts for those monitors are suppressed, so planned work doesn't fire "site down" notifications at the client's subscribers. A small thing that prevents a disproportionate number of client calls during routine work.
Step 7: Add the finishing touches
- SVG status badge — embed a live badge in the client's website footer or internal dashboard.
- Embeddable JS widget — a small widget for the client's own site, showing current status inline.
- RSS feed — for public pages; useful if the client's team already lives in a feed reader.
- Visitor subscriptions — visitors opt in on the page and receive down / back-up notifications via Telegram or email. Self-service, which means fewer people contacting the client (and you) during an incident.
Step 8: Send the client the URL
This is the step agencies sometimes skip. Don't. Send the client status.client.com with a short note explaining what it shows, and point out they can subscribe for notifications. If you're producing a monthly white-label report, mention that the status page and the report are the same data presented two ways — a live view versus a record they keep.
The client seeing their own subdomain with a valid certificate and live monitoring data — that's a tangible retainer deliverable, visible proof that something is running on their behalf every minute of every day.
Quick reference checklist
- Create the status page and attach the relevant monitors
- Enter the custom domain in status page settings (Pro plan)
- Copy the CNAME target Pingvera provides
- Add the CNAME record in the client's DNS (DNS-only if Cloudflare)
- Wait for propagation; TLS certificate is issued automatically
- Set access level: public or password-protected
- Schedule maintenance windows for planned work
- Configure badge, widget, RSS and visitor subscriptions
- Send the client the URL
If you're not yet monitoring the sites behind this status page, start with a free Pingvera account — no credit card, up to five sites, one-minute checks, status pages included. White-label custom domains come with the Pro plan.
Read also: A status page for clients: domain, password, subscriptions and How to monitor client websites.
Read next: A Status Page for Clients: Your Own Domain, Password Protection, and… · Client Website Down: Email & Status Templates · How to Manage Multiple Client Websites · Client Website Outage Communication Templates · Check domain registration expiry.